bay area

Beet Gratin

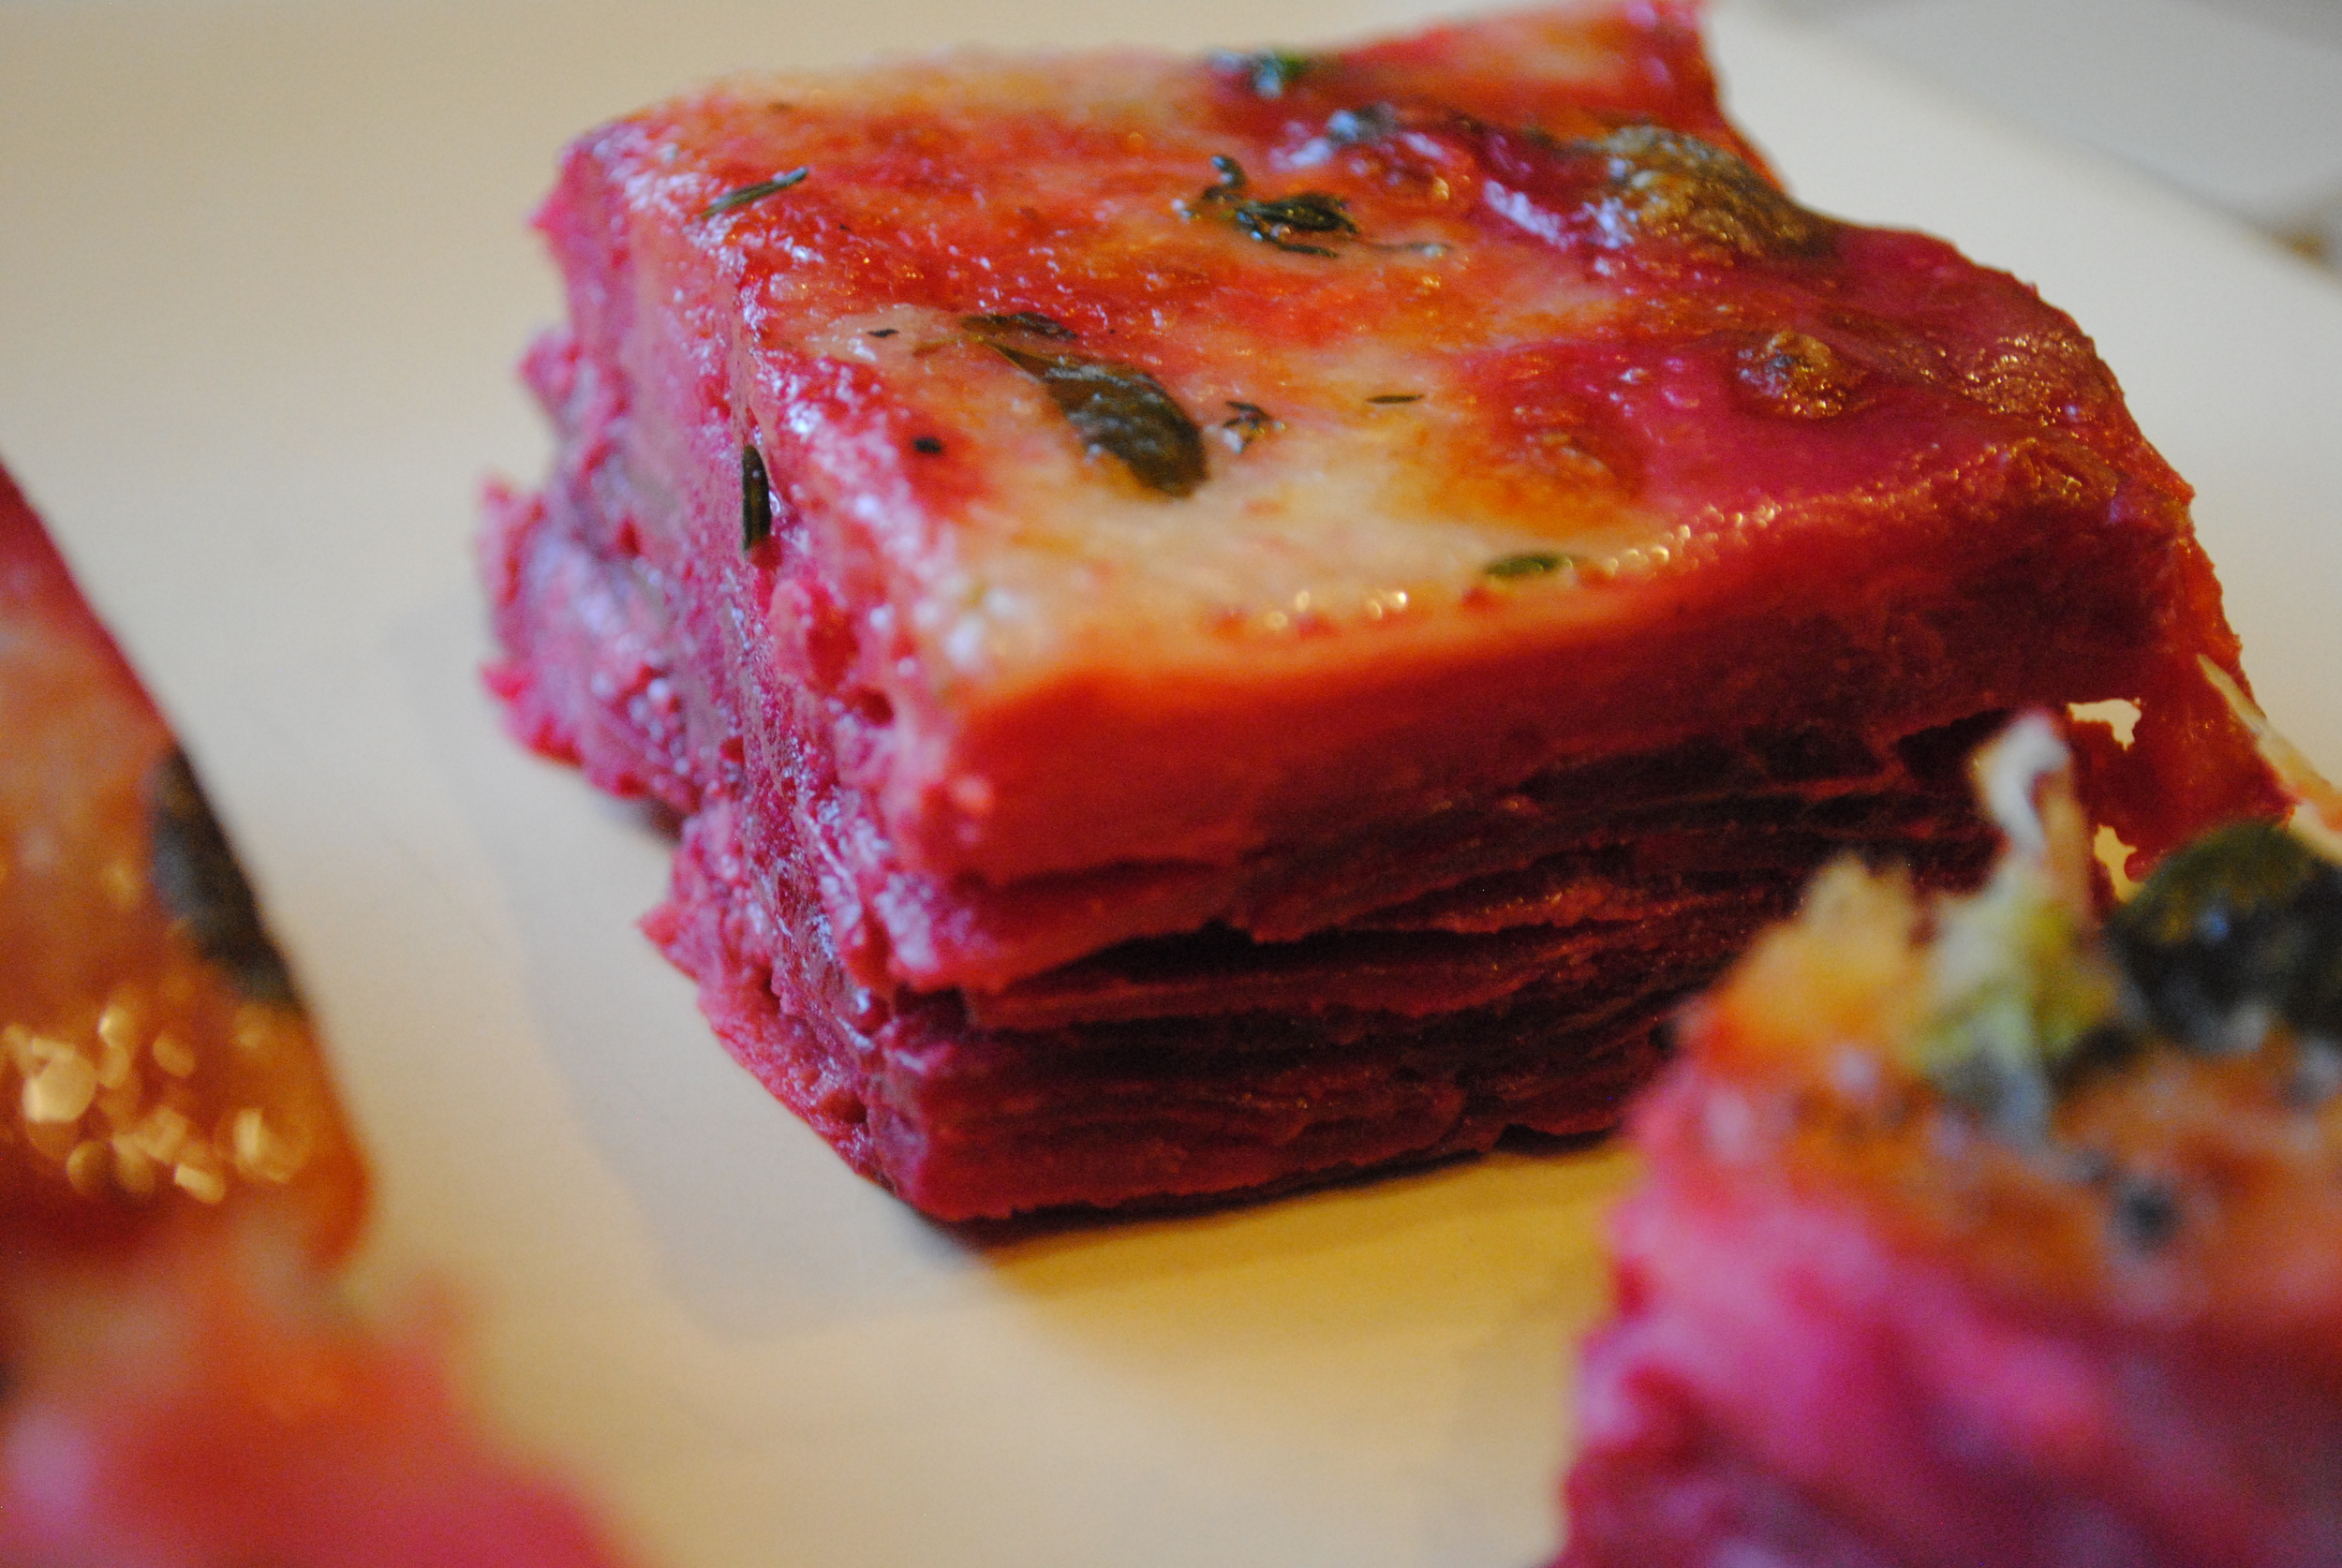
This beet gratin begins with familiar ingredients but it makes a complex dish that will satisfy any gourmand. The beet and potato in this recipe offer a earthy, sweet tone that's complimented well with the richness of the cheese, butter, and milk. The gratin's color is also atypical. It's a bright red that leaches into the potato and cream, making a dish that is as striking to look at as delicious as it is to eat.

When I make this dish it's difficult to want to serve it with anything else than greens. Either a lightly dressed mix of greens or blanched kale with lemon, pepper, and olive oil works. Serving this gratin can be done soon after it's done cooking in the oven or after it's cooled a couple hours. The latter will allow you to cut almost perfect squares where you can see the layering work you've done. Just reheat in the oven. You can also serve this gratin cold as well. It's the dense layering of beet that allows it to stand up well chilled. In a hurried moment i've sliced a cold piece of this gratin and taken it on the go, kind of like a power bar. For this recipe you'll need:

  • 4 large red beets
  • 3 medium russet potatoes
  • 3 sprigs of thyme, 2 sprigs of marjoram
  • 3 T unsalted butter
  • 3 T all purpose flour
  • 3 c milk
  • 1 T kosher salt 
  • 3/4 cup grated gruyere

First peel and thinly slice the beets and potatoes. Use a mandolin if you have one and place the slices in a bowl.  Once your done slicing grab your medium sized baking dish and set everything aside. 

Next melt the butter in a saucepan. Stir in the flour and cook the mixture for just under a minute - known as a roux. Stir in milk, a little at a time, making sure to stir well so that no lumps form. Bring the mixture to the boil, stirring constantly, so that the mixture thickens and becomes saucy. Turn off from heat and set aside. 

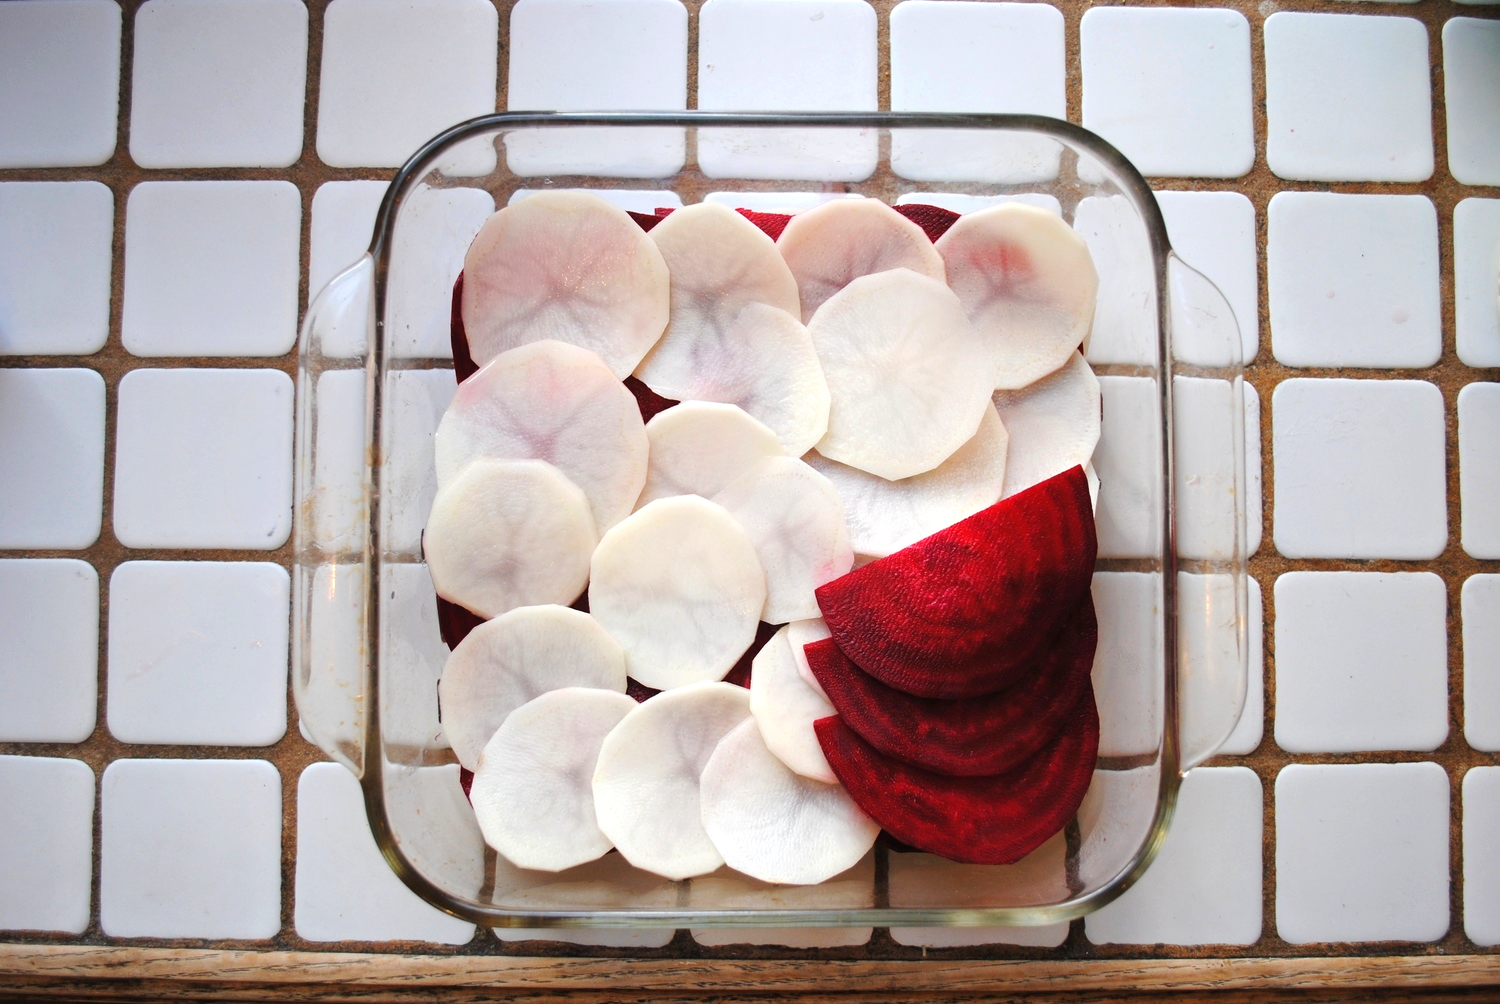
Grab your beets, potatoes, white sauce, and baking dish and start layering 2-3 layers of beet to 1 layer of potato while ladling your white sauce so that its spread evenly across every 3-4 layers. Do not add your cheese and herbs yet.

Now it's time to bake your gratin. Bake for 20 minutes at 350 degrees. While that's in the oven you can grate the gruyere and set aside. Also pick your herbs and set aside. 

Take your gratin out of the oven at this point and turn the oven up to 400 degrees. While the oven is heating up, top off the gratin with the gruyere and herbs. Then bake for another 10-15 or place under broiler for 5-10 minutes until cheese in melted and started to golden. Take it out and enjoy!

Hoshigaki Persimmons Part 1

In the first part of this series. I'll be showing you how I started off my journey making Hoshigaki Persimmons. Hoshi means dried and gaki is from kaki, the Japanese word for persimmon. They're persimmons that are dried the long way. No involvement of a dehydrator which will make them just dry and tough. The hoshigaki method involves using the hachiya variety (acorn-shaped) of persimmons dried the traditional Japanese way—in the sun or if you live in a foggy city like San Francisco, in your home. The persimmons are also gently massaged by hand once every few days to break up the inside pulp, smooth the outside and to encourage the fruit's sugars to migrate to the surface in a "delicate white bloom."  In the end they're supposed to end up looking like a softer dried fruit that's frosted in powdered sugar. The taste intense. With concentrated persimmon flavor, honeyed overtones and perhaps the barest hint of cinnamon. However, It's definitely the texture that gets even more interesting. Hoshigaki are supposed to be chewy and have almost jelly-like insides. Tender and succulent. The whole process takes several weeks. Starting now is perfect if you want to have them ready for the holidays. 

I bought 9 persimmons at my Sunday farmers market. I made sure they had enough stem left on the fruit so I could tie them up and hang them by that stem. Some recipes call for a perfect t-shape stem but I didn't find this necessary. Next, I peeled off all the skin. Leaving no trace of it. Also, some recipes call for sanitizing your fruit in a neutral flavored liquor like vodka. I didn't do this. I might for my next batch in Part 2. 

DSC_1621.jpg

Next I gathered up some kitchen twine for hanging the fruit. I found in my pantry and made sure to cut the string in equal lengths. The equal lengths in the string will allow me to easily separate my batches by length of string in the future.

Tie up the persimmons tight and find a place you want to hang them. Some good spots are outside in direct sun, inside in front of a sun facing window, or another cool dry room. For this batch I started them outside but eventually moved them inside by kitchen window. The fog was just too heavy and left the persimmons wet after the first night out on their own.  

Once you hang them they look like cute little lanterns. That doesn't last long though. I'm about a week into the process now and they've lost all that cuteness. They're starting to dry out and darken. I've also massaged them twice since hanging. Look out for Part 2 where i'll start a second batch and post photographs of the process for Batch 1.